Date/Time:
The Retropie is a great little program built on the Retroarch platform on a Raspbian Buster operating system.
You can use emulators on a computer, but X86/X64 based computers are used on desks. You can build a small form
factor computer to be used as a emulation platform, but they usually cost much more money than using a single board computer with Retropie on it. In addition to that, X86/X64 based processors use a lot more energy than a ARM RISC based processor.
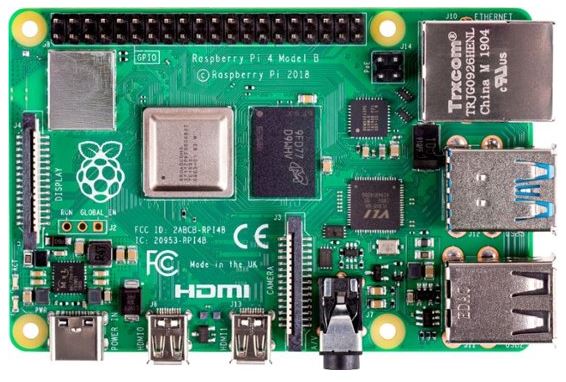
I have my Raspberry Pi 4 based SBC connected to my HDMI based computer monitor, and I have another one connected
to my television as well. Something like this could be connected to any modern television with a HDMI connection.
Playing retro games on a big screen televisions is very nostalgic, because most of these console video games were played in the living room on the family television set back in the late 1970s to the 1990s.
The Retropie can emulate a lot of different emulators, like the Colecovision, Atari 2600, Atari 5200, Atari 7800,
Intellivision, NES, Sega Master System, Game Boy, Sega Genesis/Mega Drive, PC-Engine/Turbografx-16, Atari Lynx, Atari Jaguar, Panasonic 3do, Sega Game Gear, Sega 32x, Sega CD, Sega Saturn, Sony Playstation, N64, Sega Dreamcast, etc.
For some emulators, you will need BIOS files to use them, like the Intellivision, Atari 5200, Sega CD, Sony Playstation, Sega Dreamcast, Atari Jaguar, Atari Lynx, and others require bios files.
Configuring Retropie isn’t difficult, you just have to know where to put the files. Retropie is supported, so you can
add new emulators, and add different features to it. You can add Steamlink which enables you to connect to your
Steam account to play PC games on your SBC with Retropie on it. This is a very versatile program.
If you want to build your own, you can, and it isn’t very hard to do. I will show you how to do that, and what you
need to do that. I also made a lot of tutorial videos on how to set one up, and add different emulators on it. You can
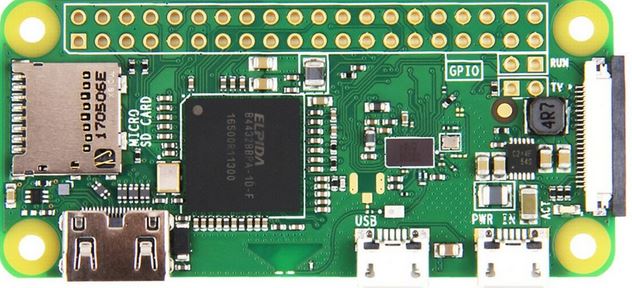
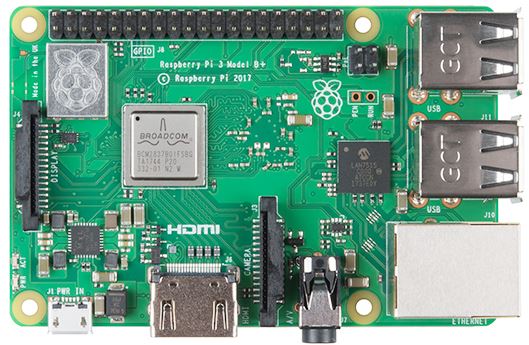
use any Raspberry Pi single board computer, like a Raspberry Pi Zero, Raspberry Pi 2, Raspberry Pi 3, or a Raspberry Pi 4. You have to download the correct Retropie image for the correct hardware. For example, Retropie for a Raspberry Pi Zero will use it’s own version of Retropie, and that will not work on a Raspberry Pi 4. The links for the hardware, and software will be below.
Raspberry Pi Zero
▄▄▄▄▄▄▄▄▄▄▄▄▄▄▄▄▄▄▄▄▄▄▄▄▄▄▄▄▄▄▄▄▄▄▄▄▄▄▄▄▄▄▄▄▄▄▄▄▄▄▄▄▄▄▄▄▄▄▄▄▄▄▄▄▄▄▄▄▄▄▄▄▄▄▄▄▄▄▄▄▄▄▄▄▄▄▄▄▄▄▄▄▄▄▄
♠ Vilros Raspberry Pi Zero W Basic Starter Kit
• Link
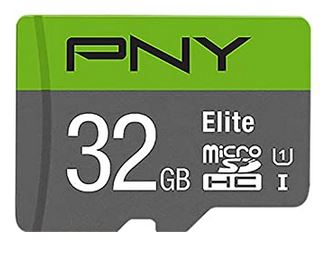
♠ Samsung EVO 32 GB microSD Card
• Link
♠ RSHTECH Powered USB 3.0 Hub 4 Port USB
• Link
▄▄▄▄▄▄▄▄▄▄▄▄▄▄▄▄▄▄▄▄▄▄▄▄▄▄▄▄▄▄▄▄▄▄▄▄▄▄▄▄▄▄▄▄▄▄▄▄▄▄▄▄▄▄▄▄▄▄▄▄▄▄▄▄▄▄▄▄▄▄▄▄▄▄▄▄▄▄▄▄▄▄▄▄▄▄▄▄▄▄▄▄▄▄▄
♦ Raspberry Pi 4 Model B 2019 Quad Core 64 Bit @ Amazon
• Link
♦ Samsung 128GB 100MB/s (U3) MicroSDXC EVO @ Amazon
• Link
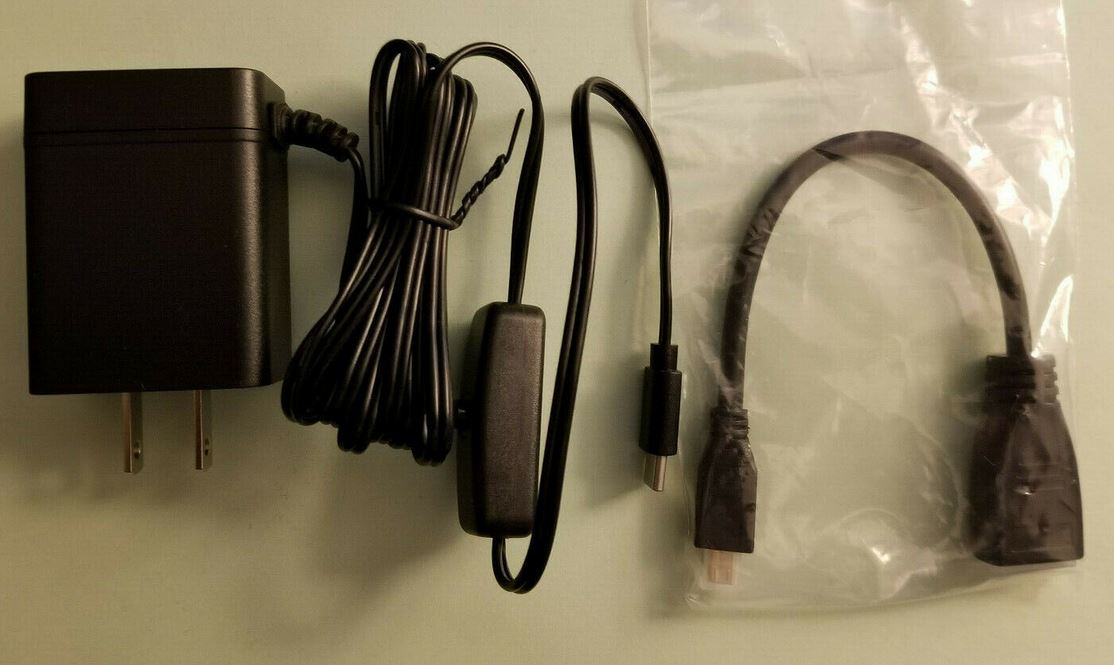
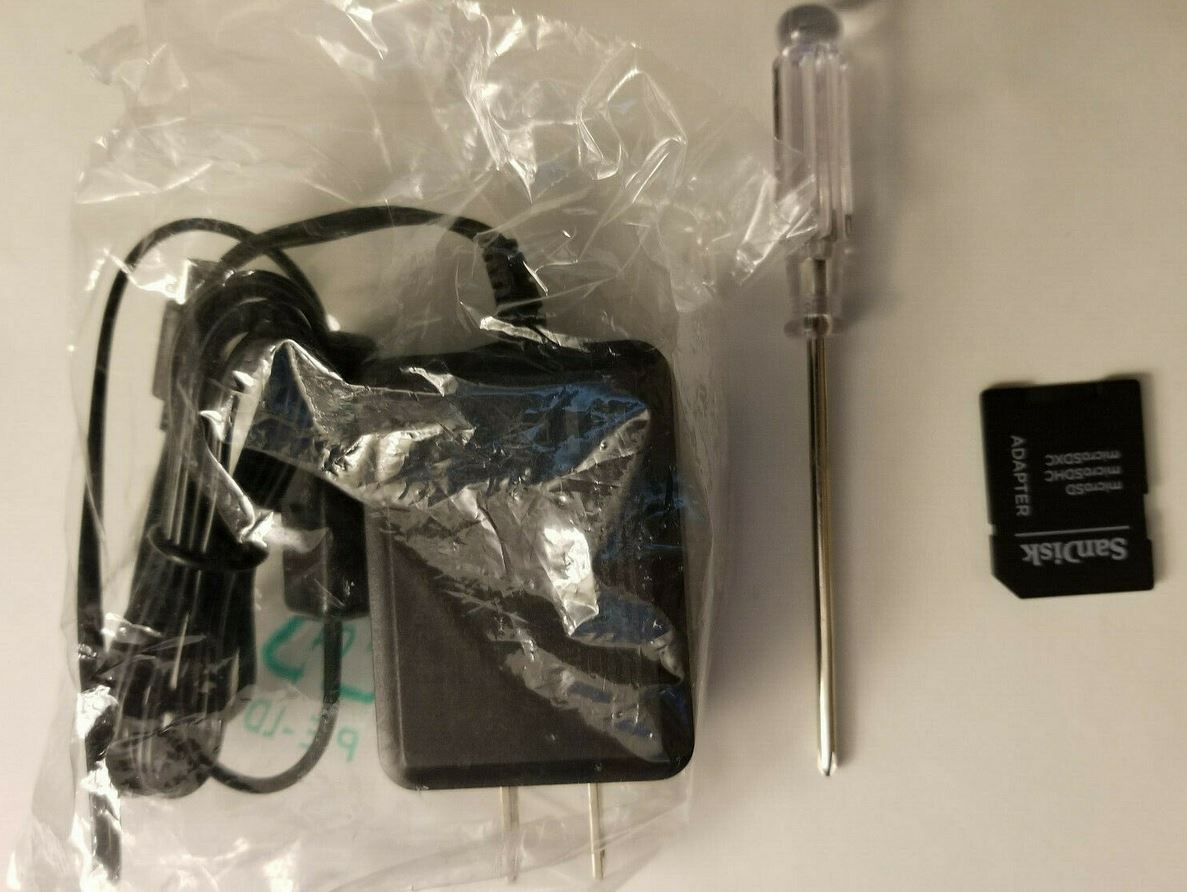
♦ Smraza Kit: Case, power adapter, microHDMI to HDMI cable, heatsinks, & fan @ Amazon
• Link
♦ SmartQ C307 USB 3.0 Portable Card Reader @ Amazon (USB Micro SD card reader)
• Link
♦ Foldable Pliers (If you don't have a pliers) @ Amazon
• Link
♦ Playstation 3 Controller @ Amazon
• Link
▄▄▄▄▄▄▄▄▄▄▄▄▄▄▄▄▄▄▄▄▄▄▄▄▄▄▄▄▄▄▄▄▄▄▄▄▄▄▄▄▄▄▄▄▄▄▄▄▄▄▄▄▄▄▄▄▄▄▄▄▄▄▄▄▄▄▄▄▄▄▄▄▄▄▄▄▄▄▄▄▄▄▄▄▄▄▄▄▄▄▄▄▄▄▄
[Assembled Kits]
◙ Raspberry Pi 4 (2 GB)
• Link
◙ Raspberry Pi 4 (4 GB)
• Link
◙ Raspberry Pi 3 B+ (1 GB)
• Link
▄▄▄▄▄▄▄▄▄▄▄▄▄▄▄▄▄▄▄▄▄▄▄▄▄▄▄▄▄▄▄▄▄▄▄▄▄▄▄▄▄▄▄▄▄▄▄▄▄▄▄▄▄▄▄▄▄▄▄▄▄▄▄▄▄▄▄▄▄▄▄▄▄▄▄▄▄▄▄▄▄▄▄▄▄▄▄▄▄▄▄▄▄▄▄
[Software]
♦ Retropie Download Page
• Link
♦ Balenaetcher
• Link
▄▄▄▄▄▄▄▄▄▄▄▄▄▄▄▄▄▄▄▄▄▄▄▄▄▄▄▄▄▄▄▄▄▄▄▄▄▄▄▄▄▄▄▄▄▄▄▄▄▄▄▄▄▄▄▄▄▄▄▄▄▄▄▄▄▄▄▄▄▄▄▄▄▄▄▄▄▄▄▄▄▄▄▄▄▄▄▄▄▄▄▄▄▄▄
Raspberry Pi Zero
Raspberry Pi 3 B+
Raspberry Pi 4

Raspberry Pi 4 Kit
Accessories
MicroSD Card

Raspberry Pi 3 B+ Kit
Raspberry Pi 3 B+ Accessories
If you want to build your own parts and build it from scratch, put the case together, put the heat sinks on all the chips, assemble the fan, and put on the rubber feet. If you assembled kit, you can skip all that. If you are using a Raspberry Pi 3 B+ or a Raspberry Pi 4, you should have a heat sink and a fan on it. The CPUs for those boards do get hot, and the system will throttle down affecting its performance.
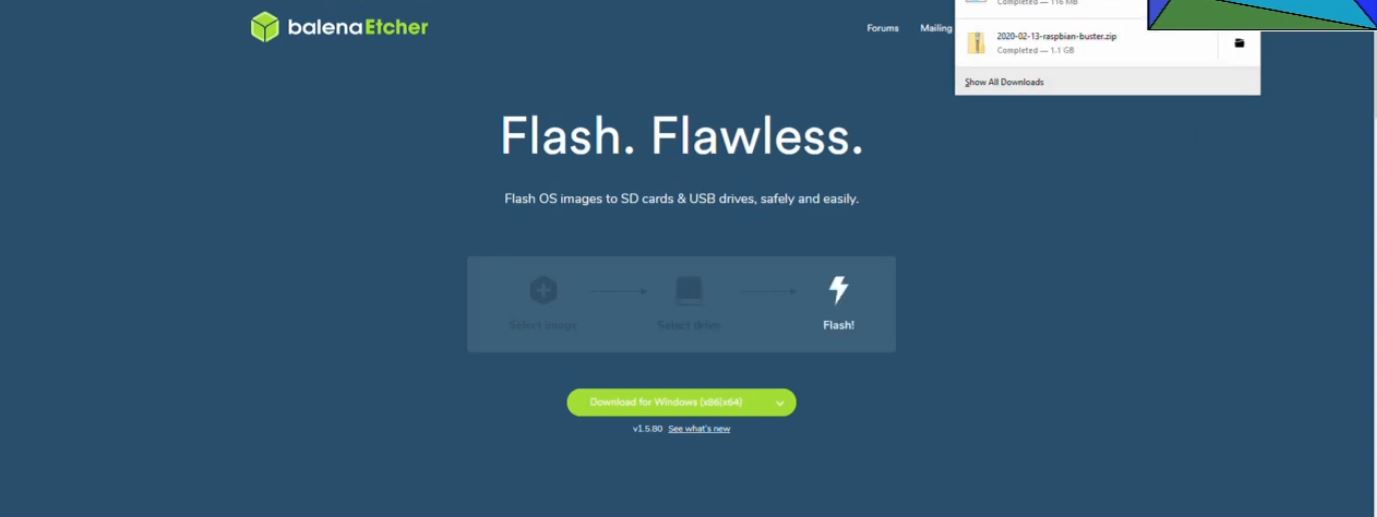
Download BalenaEtcher
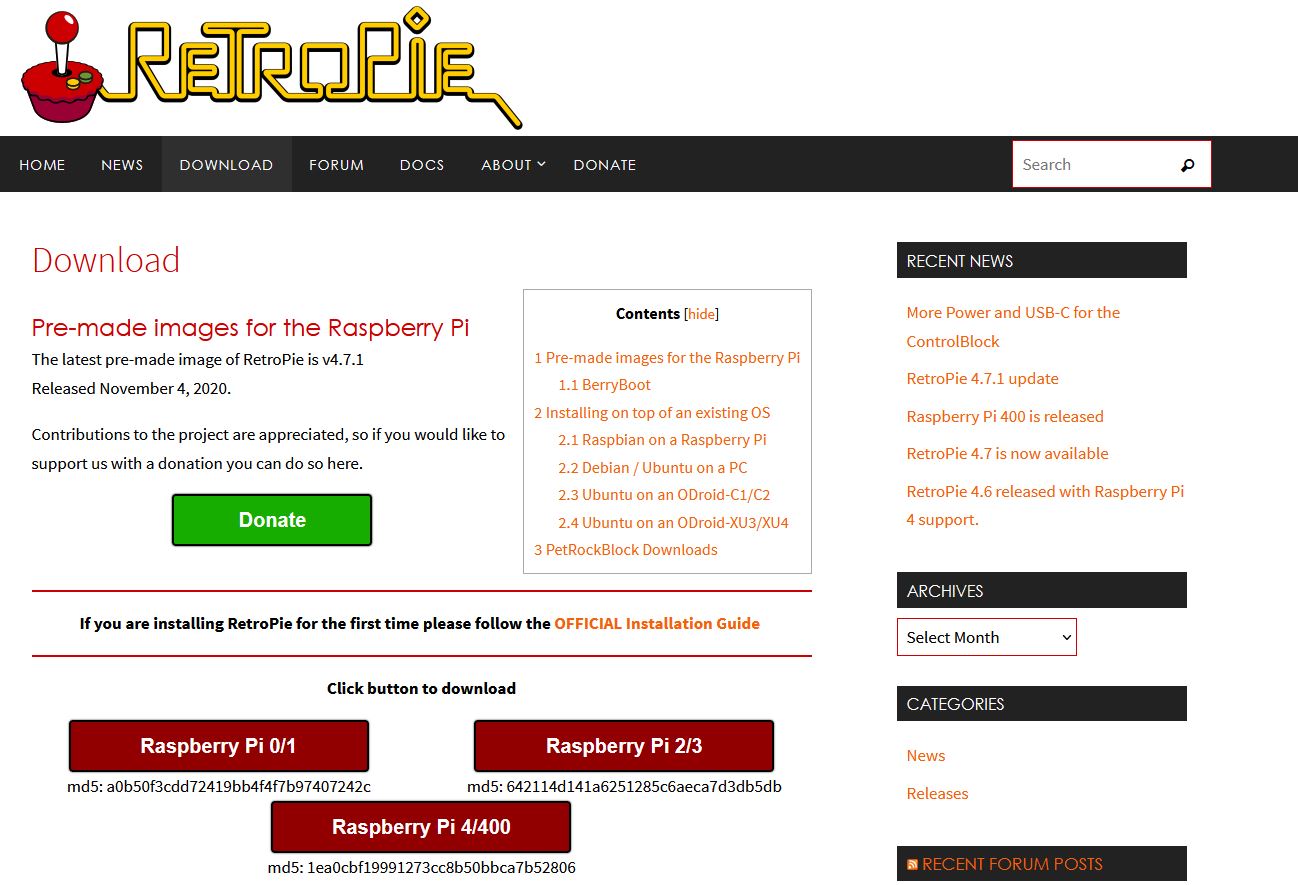
Select the correct version of Retropie for your SBC
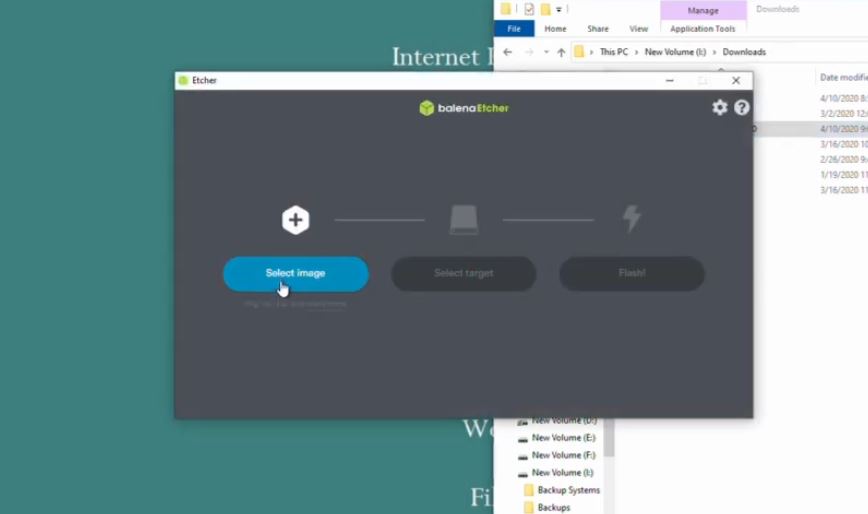
Select the Raspberry Pi image on Etcher
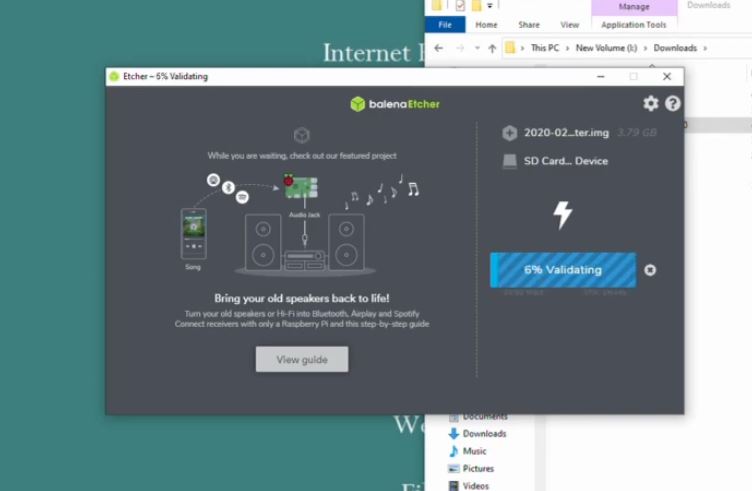
Let Etcher verify the image
Next, put your microSD card in your USB card reader, and put it into a USB port on your computer. Download all the software that you will need, like BalenaEtcher, and the Retropie image file. If you have a Rasbperry Pi Zero, select the Retropie image for the Raspberry Pi Zero, etc.
Remove all other USB storage devices you aren’t using. Then, start BalenaEtcher, select the correct image for Retropie, and select the USB drive you want to write Retropie on. This will take several minutes to complete. It will write the Retropie image on your microSD card, and it will also verify it. After the process finishes, eject the USB drive, and remove it from your computer.
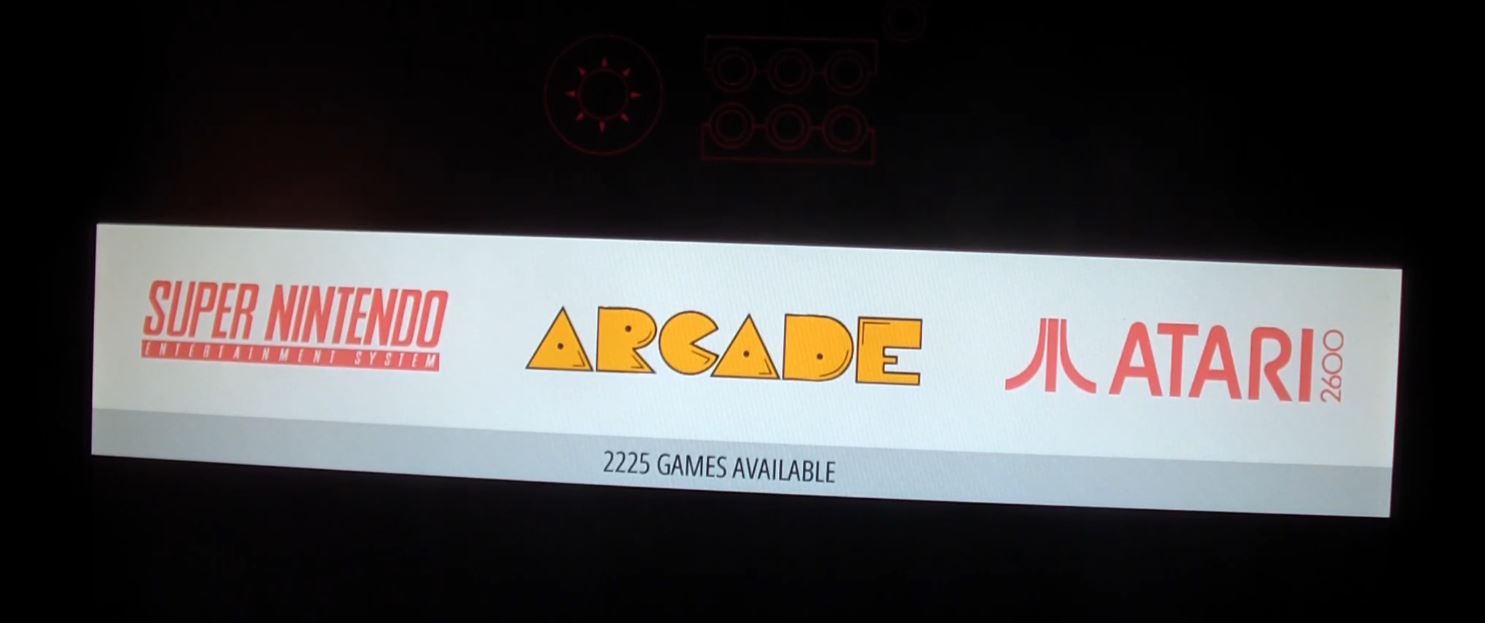
Retropie Menu
Take the microSD card from your USB card reader, and put it into your Raspberry Pi SBC. Hook up all the cables, and turn on your Raspberry Pi SBC. It will take several minutes for the program to configure everything. Be patient, and don’t turn your computer off. When the process completes, you will see the Retropie logo, and you will go into Retropie.
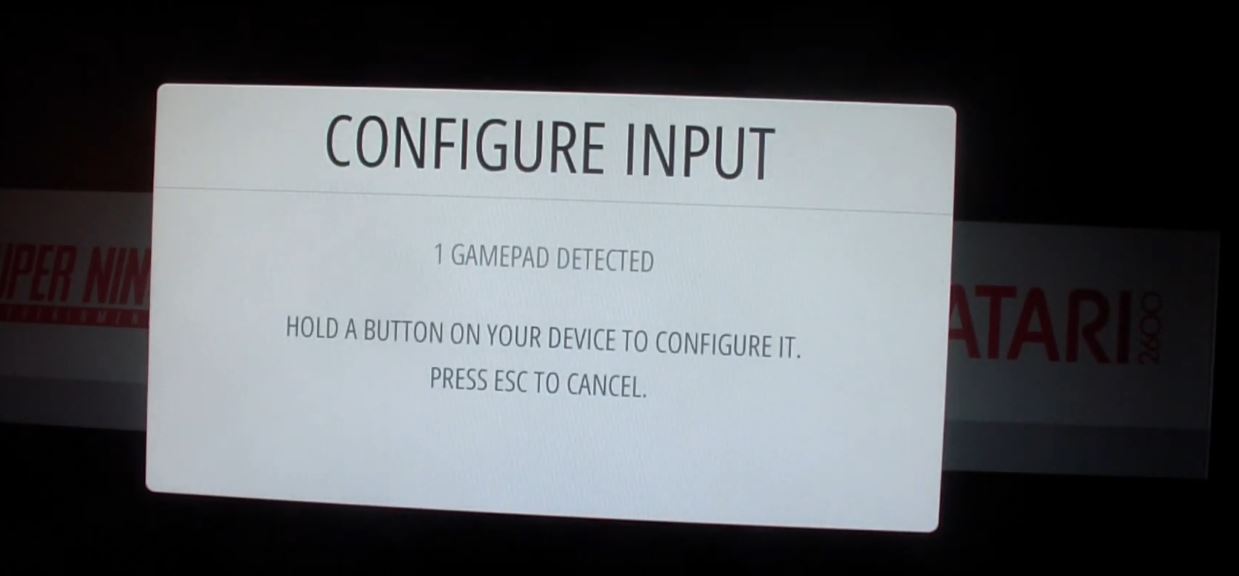
Controller Input
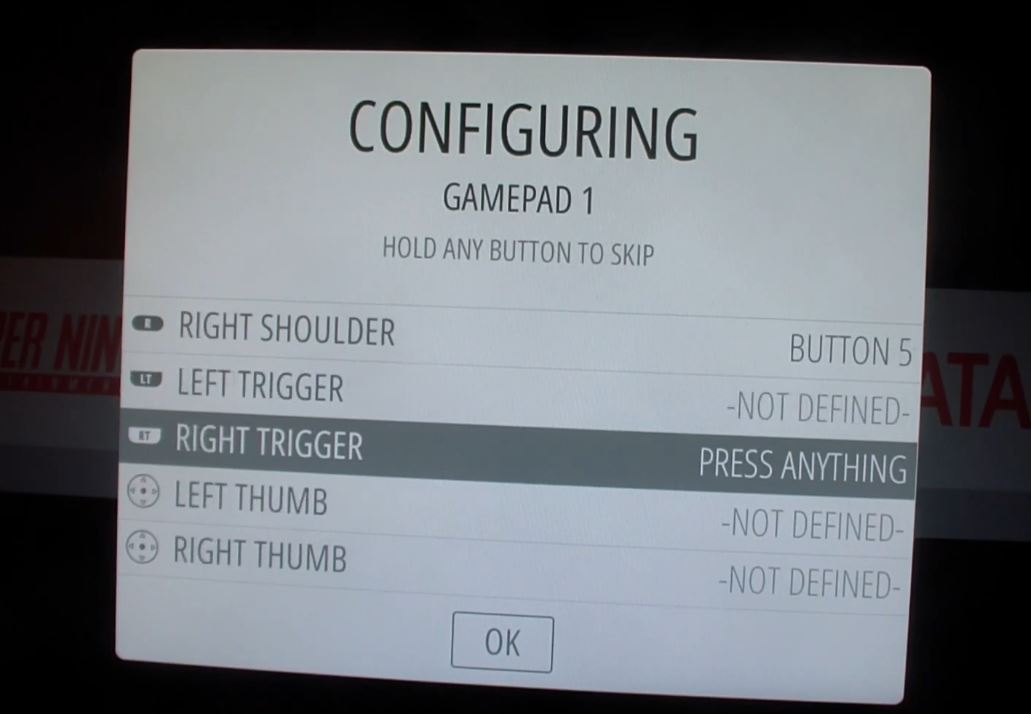
Controller Input
Wifi Menu

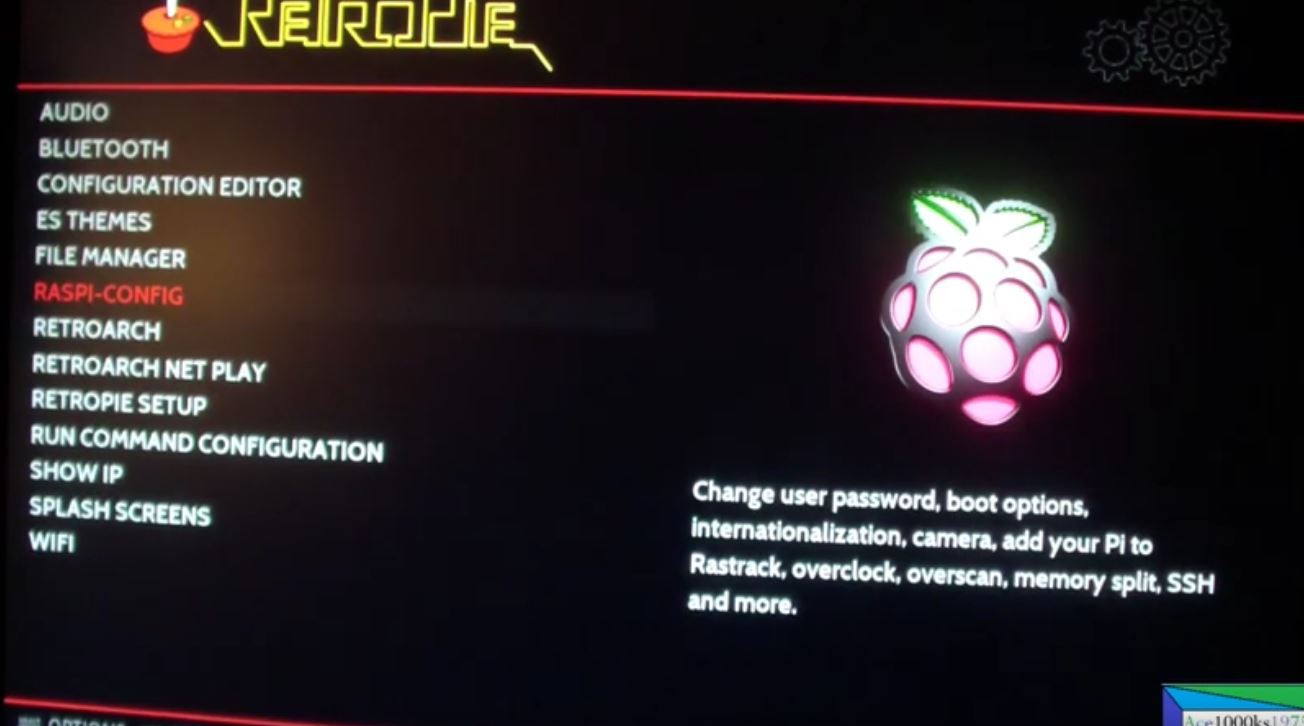
Raspi-Config Change the Localization Setting for Wifi
The first thing you must do is to configure the controller, or your input device. Just follow the directions, and put in the inputs as it appears on your controller. Go to the Retropie menu, Raspi-Config, Localization Options, WLAN country, select the country, and reboot. You must use a keyboard when you do this to enter the password. Go back to the Retropie menu, and go to Wifi. Then, select connect to wifi network, select your network, and put in your password. Reboot.
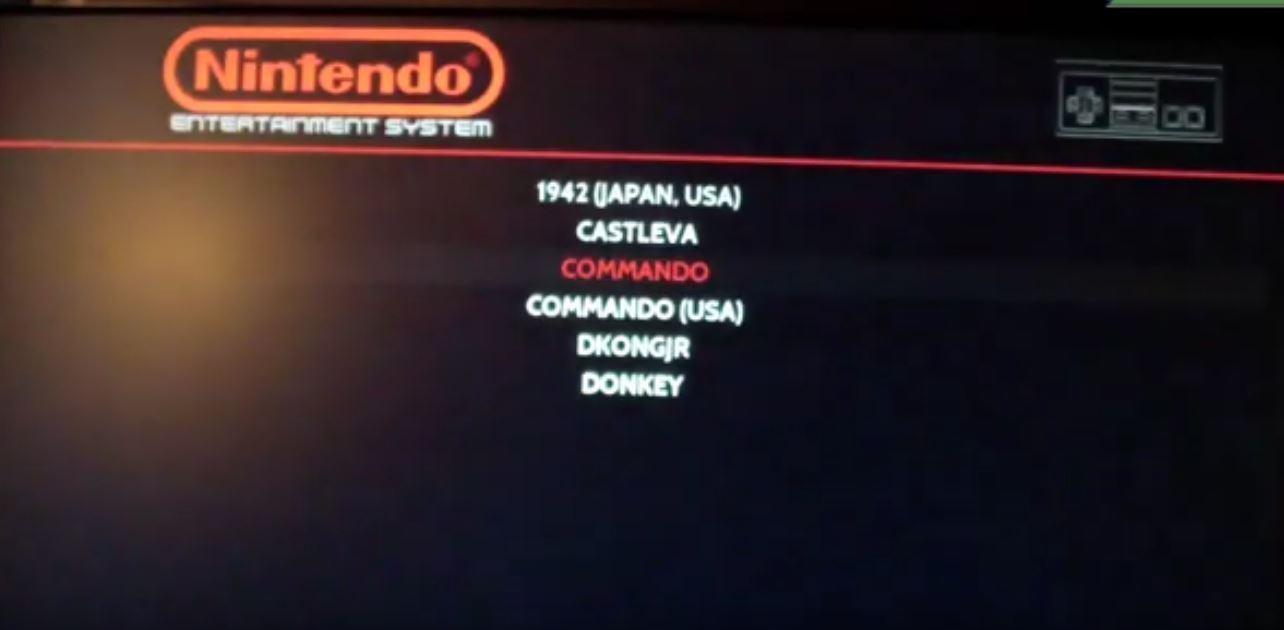
The last thing you need to do is to put the ROMS, and BIOS files into Retropie. Go back to your Windows based computer, open Windows explorer, and type in \\Retropie or the IP address if you know it \\192.168.X.XXX. Go to the roms folder and put in the roms files. For example, SMS is for Sega Master System roms, Mega Drive is for the Sega Genesis, PCE is for the PC-Engine/Turbografx-16, GB is for gameboy, etc. If you need the BIOS files for the emulator you want to use then go to BIOS. Put in the BIOS files into that folder. I have tutorial videos on how to use different emulators which require BIOS files. LINK
Emulator Menu
You can press any key here to change the emulator
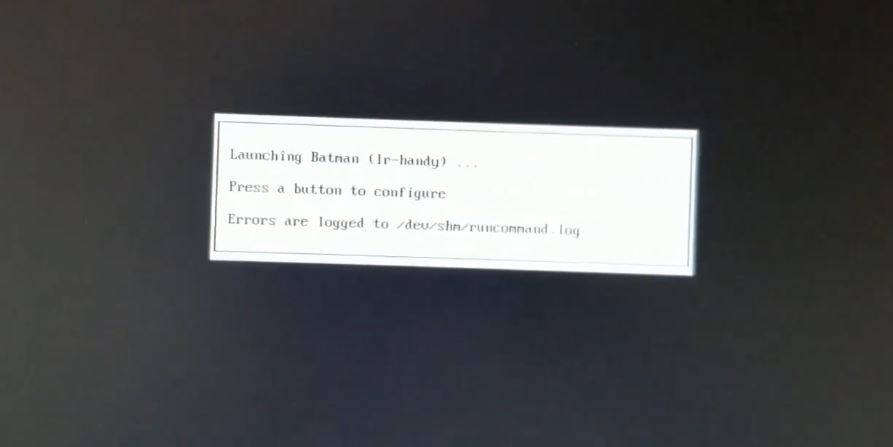
Go back to Retropie, and reboot it. Then, you will see all the emulators for the ROMS you put in. Go to the emulator, and you will see the ROMS in the emulator menu. Just push the action button, and you can run the roms. I have a tutorial video on how to do this, and other videos related to Retro Orange Pi. You can go to this link, and find all the videos about that. I will put a few below as well.
Retropie Video List